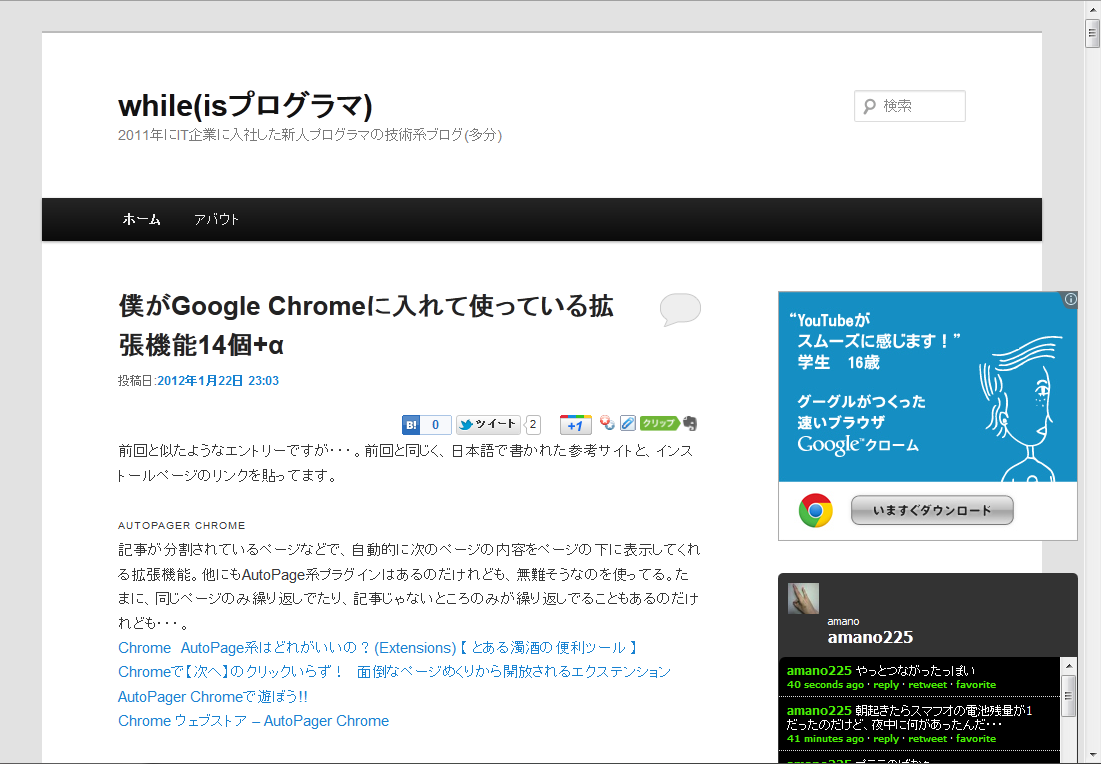
ここのブログでは、WordPressに標準で入っているtwentyelevenというテーマを少し改造したものを使っています。今回はどこをどう変更したのか、その一部を書いていきます。
Before
After
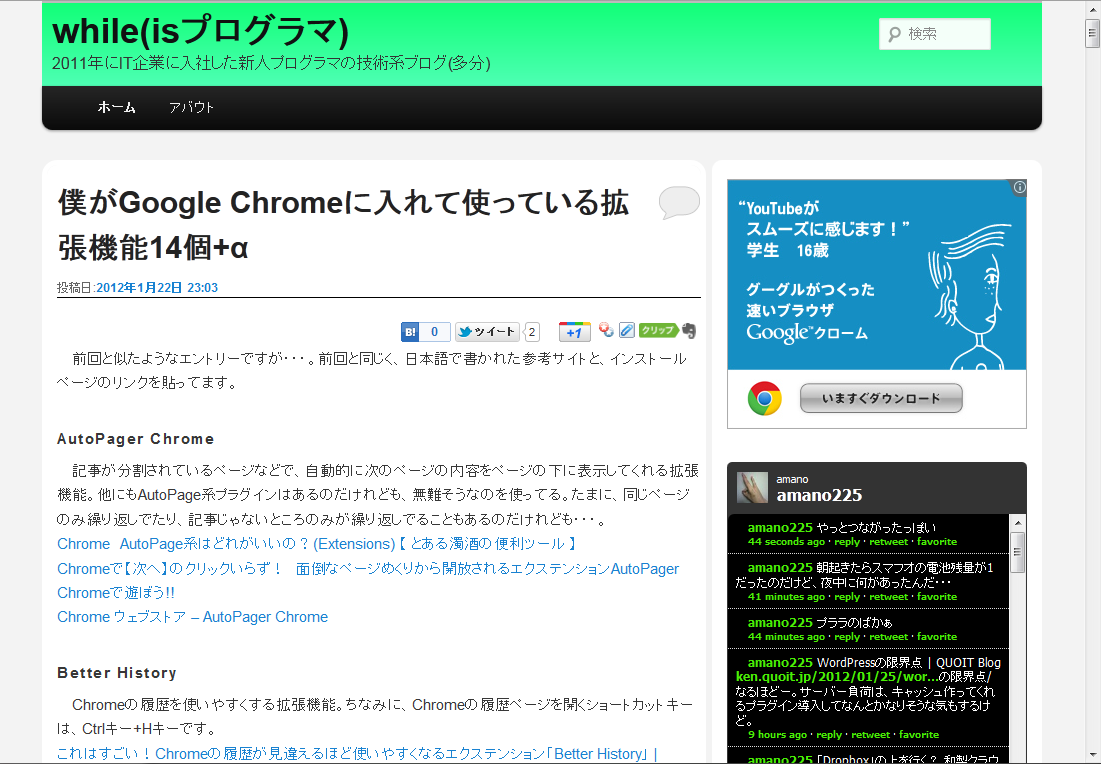
ヘッダー背景をデコレーションに
Before

#branding {
	border-top: 2px solid #bbb;
	padding-bottom: 10px;
	position: relative;
	z-index: 2;
}
After

#branding {
	border-top: 2px solid #bbb;
	padding-bottom: 10px;
	position: relative;
	z-index: 2;
	background-color:#33ff99;
	background: -webkit-linear-gradient(#11ff77, #55ffbb);
	background: -moz-linear-gradient(#11ff77, #55ffbb);
	background: linear-gradient(#11ff77, #55ffbb);
}
ヘッダーの背景にCSS3のグラデーション機能で色をつける変更をしました。ただ、CSS3の機能を使ってみたかっただけ。IEには対応してないので、IEでは単色で表示されているはずです。
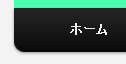
ナビゲーション等の角を丸く
Before

#access {
	background: #222; /* Show a solid color for older browsers */
	background: -moz-linear-gradient(#252525, #0a0a0a);
	background: -o-linear-gradient(#252525, #0a0a0a);
	background: -webkit-gradient(linear, 0% 0%, 0% 100%, from(#252525), to(#0a0a0a)); /* older webkit syntax */
	background: -webkit-linear-gradient(#252525, #0a0a0a);
	-webkit-box-shadow: rgba(0, 0, 0, 0.4) 0px 1px 2px;
	-moz-box-shadow: rgba(0, 0, 0, 0.4) 0px 1px 2px;
	box-shadow: rgba(0, 0, 0, 0.4) 0px 1px 2px;
	clear: both;
	display: block;
	float: left;
	margin: 0 auto 6px;
	width: 100%;
}
After
#access {
	background: #222; /* Show a solid color for older browsers */
	background: -moz-linear-gradient(#252525, #0a0a0a);
	background: -o-linear-gradient(#252525, #0a0a0a);
	background: -webkit-gradient(linear, 0% 0%, 0% 100%, from(#252525), to(#0a0a0a)); /* older webkit syntax */
	background: -webkit-linear-gradient(#252525, #0a0a0a);
	-webkit-box-shadow: rgba(0, 0, 0, 0.4) 0px 1px 2px;
	-moz-box-shadow: rgba(0, 0, 0, 0.4) 0px 1px 2px;
	box-shadow: rgba(0, 0, 0, 0.4) 0px 1px 2px;
	clear: both;
	display: block;
	float: left;
	margin: 0 auto 6px;
	width: 100%;
	border-bottom-right-radius:10px;
	border-bottom-left-radius:10px;
}
ナビゲーションやメインのコンテンツ、サイドメニューなどの角をborder-radiusで丸くしています。ただ、CSS3の機能を使ってみたかっただけ(二回目)
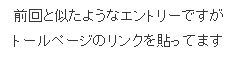
一つの段落(pタグ)に1文字分のインデントを入れる
Before
p {
	margin-bottom: 1.625em;
}
After
p {
	margin-bottom: 1.625em;
	text-indent: 1em;
}
一応、見やすいかなと思って、ひと段落ごとにインデントをつけています。改行一つ分だと、同じ段落だと判断されてしまうようなので、たまに全角スペースを使うこともありますが。
ヘッダーの縦幅を細く
#site-title {
	margin-right: 270px;
	padding: 3.65625em 0 0;
}
#site-title a {
	color: #111;
	font-size: 30px;
	font-weight: bold;
	line-height: 36px;
	text-decoration: none;
}
#site-title a:hover,
#site-title a:focus,
#site-title a:active {
	color: #1982d1;
}
#site-description {
	color: #7a7a7a;
	font-size: 14px;
	margin: 0 270px 3.65625em 0;
}
After
#site-title {
	margin-right: 270px;
	padding: 0;
}
#site-title a {
	color: #111;
	font-size: 35px;
	font-weight: bold;
	line-height: 36px;
	text-decoration: none;
}
#site-title a:hover,
#site-title a:focus,
#site-title a:active {
	color: #0962f1;
}
#site-description {
	color: #333333;
	font-size: 16px;
	margin: 0 270px 0 0;
}
どうやらこの縦幅は、タイトルやブログの説明部分にかかってるpaddingが原因のようなのでそれを0に変更。
他にもエントリーのタイトルフォントを少し大きくしたり、マージンやパディングをいろいろ変更したりあるのですが、どの部分か自分もはっきり覚えてるわけではないのでこのあたりで。
なお、このブログではキーボードのCを押すだけでスタイルシートを変更するように設定しています。試しに、Cキー(1月29日追記:Ctrl+Cで文字列コピーしようとしても変更しちゃうので、/キーに変更しました)を押してみてください。あっ、もう一度押しても元に戻らないので注意。
なお、代替スタイルシートとして、元のtwentyelevenのCSSを指定しているので、代替スタイルシートが使えるブラウザでは試しに変更してみてください。IEならメニューの表示(Altキー+Vキー)→スタイル→twentyeleven。Firefoxならメニューの表示(Altキー+Vキー)→スタイルシート→twentyelevenとなります。Chromeでの代替スタイルシートへの変更方法は分かりませんでした。調べてもよく分からなかったので、多分できないのだと思われます。
コメント
[…] posted with ヨメレバ大藤幹 マイナビ 2011-12-01Amazon楽天ブックス図書館 この本を手元に置いて作業すれば、より効率的だと思います。もちろんCSSの知識が無くてもカスタマイズできるものもあります。カスタマイズで参考にした記事一覧 ・Twitterの【follow me ボタン】を設置する方法・Twenty Elevenでフッターをコピーライトに変えるには・twenty elevenのコメントリンク(タイトル横の吹き出し)を削除する方法その他改造メモ ・パンくずリストを1分で設置!ワードプレスtwentyelevenカスタマイズ|ウェブシュフ ・【WordPress】プラグインを使わないでパンくずリストとページナビゲーションが設置できた! ・twentyelevenのstyle.cssを変更して、サイトタイトルの横にロゴ画像を表示させたぞ!・このブログを作る際、twentyelevenのCSSで変更したこと ・Twenty Elevenのレイアウトの構造を調べてみる ・Twenty Elevenのサイドバーのサイズを調節するために。・ヘッダーに関するCSSのまとめ-WordPress Twenty Eleven篇-・twentyelevenのstyle.cssを変更して、サイトタイトルの横にロゴ画像を表示させたぞ! ・Twenty Eleven の投稿の作成者を消す ・WordPressの古い投稿、新しい投稿を非表示に ・WordPress個別記事の「前の記事」と「次の記事」リンクを非表示にする方法 ・画像についてくる 枠線を消す ・CSS初心者な私でもWordPressをカスタマイズできた!Chromeの「デベロッパーツール」が神すぎて感動した・図解入り:FacebookのLike Boxをブログに設置する方法・WordPressのサイトのタイトルを設定する・WordPressのメニュー機能を使ってグローバルナビゲーションを作るどれもとても参考になる記事ばかりでした!ありがとうございました!本日も最後まで読んでいただき、ありがとうございました。RSS登録していただけると嬉しいです! […]
[…] プレートを使用している人向けだけど、CSS変更のまとめ このブログを作る際、twentyelevenのCSSで変更したこと […]